Choosing an embroidery machine

I have received a lot of questions regarding what embroidery machine to buy.  When I decided to buy an embroidery machine, I did my homework. My original machine was a basic Brother sewing machine which has lasted about 25 years and it is still in mint condition. Logically I went to a Brother dealer, and there is where I found out there were all kinds of options. I looked a ton of sewing and embroidery machines.

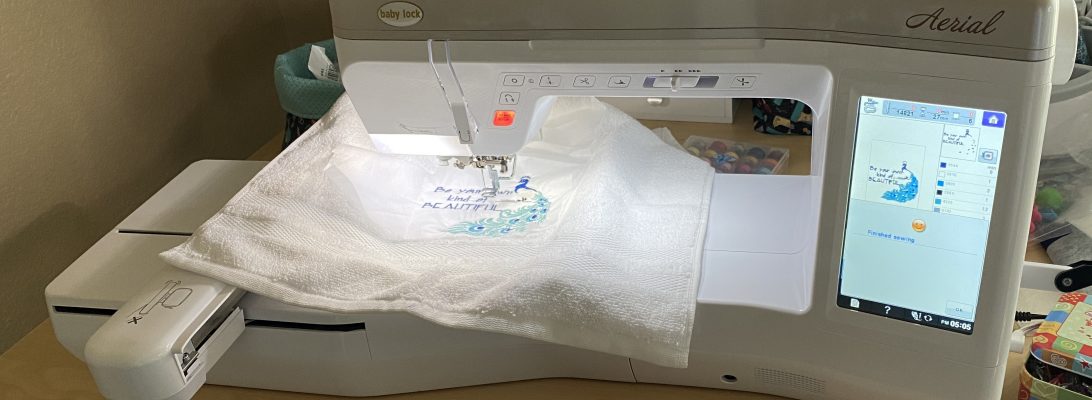
I researched brands and models and it took me months to decide. Once I chose the brand of machine (Baby Lock for its reputation in sewing, embroidery and serger machines), I compared a lot of models. My decision was based on the size of the largest frame I would be able to work with. Of course, I decided to stay in the middle; not too basic but also not the largest and biggest model, because the bigger it was the more $$$$ it would cost. Also, you can look around at dealers that have slightly used models and that have a warranty. A lot of people buy a model and within a year they want to upgrade their machine, so they trade it in. I bought this model for $1000 less than the original price of a brand new Baby Lock Aerial; it was 9 months old (someone wanted to upgrade to a Solaris, top of the line model).

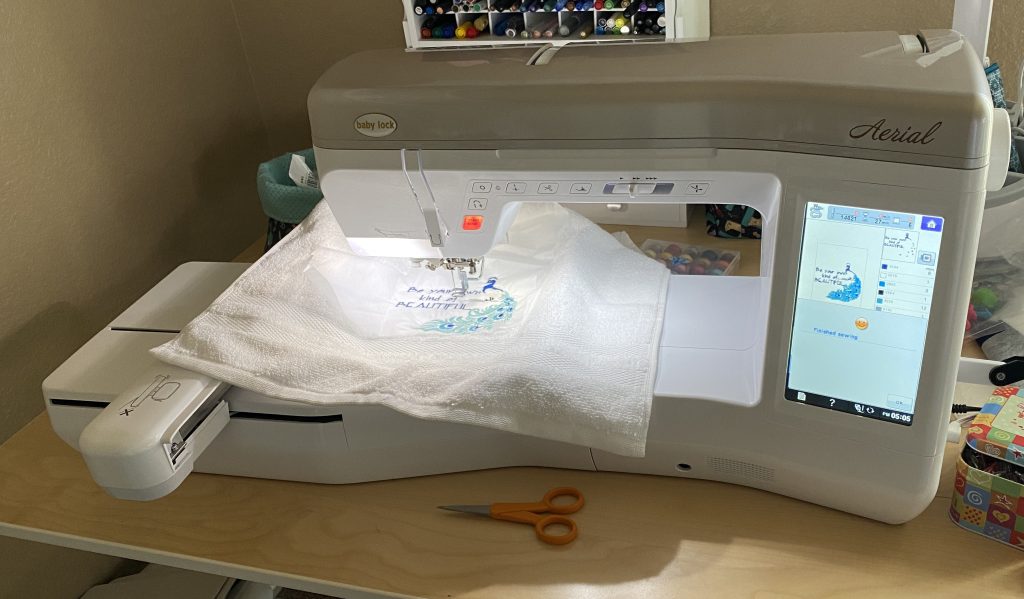
This Baby Lock Aerial is a sewing/embroidery machine and so far I am completely happy with it. The dealer also gave me a warranty for 5 years with the purchase.

Making a serving tray

In this post I’ll show you how I made a wooden serving tray using wood, FolkArt paint, and Cricut stencils.


First, I made the tray out of wooden board held together with wood glue and screws.

I painted the board with the FolkArt Home Decor chalk paint in Sage. I used a sponge and painted it on in uneven coats for a rustic look.

I sanded the base layer down to add to the worn look, then glued wooden trim around the edges on the top of the tray.

I repeated the painting process with the same color for the trim. I sanded it in a few places as well.

I created the initials in the Cricut design program on my computer, then cut them into stencil vinyl. I applied the vinyl to the middle of the tray.

I used the FolkArt Home Decor chalk paint in Milk Jug to paint in the stencil. I used a sponge here to lightly dab the paint on. This kept the rustic look I wanted, but it also kept the paint from bleeding.

I let the paint dry completely for a few days, then peeled off the vinyl. Afterwards, I coated the entire tray with matte wood varnish to preserve the paint and let it dry completely for a few more days.

The only left to do was screw the handles on, and the tray was done and ready for breakfast!

Let me know if you decide to try this project! Making a tray from scratch is hard work, but the results are rewarding, and your food will taste better when it’s served on a one-of-a-kind tray.

Hello World!

Welcome to the Crafty Dolloff Blog!

Here, I’ll post behind the scenes looks at some of my projects, cool craft ideas, and other things I think are interesting. I hope you enjoy reading!